Tile-on-Tile Fixing: How to Renovate Floors & Walls Without Messy Demolition
Save up to 60% on project time and eliminate debris with polymer-modified adhesive.


The Old Demolition Dilemma
Hacking away old tiles generates clouds of dust, disruptive noise, debris disposal headaches, and the risk of puncturing concealed plumbing lines or damp-proof membranes. Tile-on-tile fixing provides a clean, fast alternative when executed with polymer-engineered adhesives.
Phase 1: Assessing the Existing Floor
Before laying a single tile, inspect the existing surface. Tap every existing tile with a wooden mallet or screwdriver handle. Any hollow-sounding or loose tiles must be removed and patched with rapid-setting cement mortar.
Phase 2: Degreasing and Surface Etching
Existing tiles often carry years of wax, detergent films, or cooking grease. Scrub thoroughly with an alkaline cleaner or dilute acid wash, then rinse and let completely dry. For glazed tiles, mechanical scarification with a diamond grinding cup ensures superior grip.
Phase 3: Notched Trowel Application
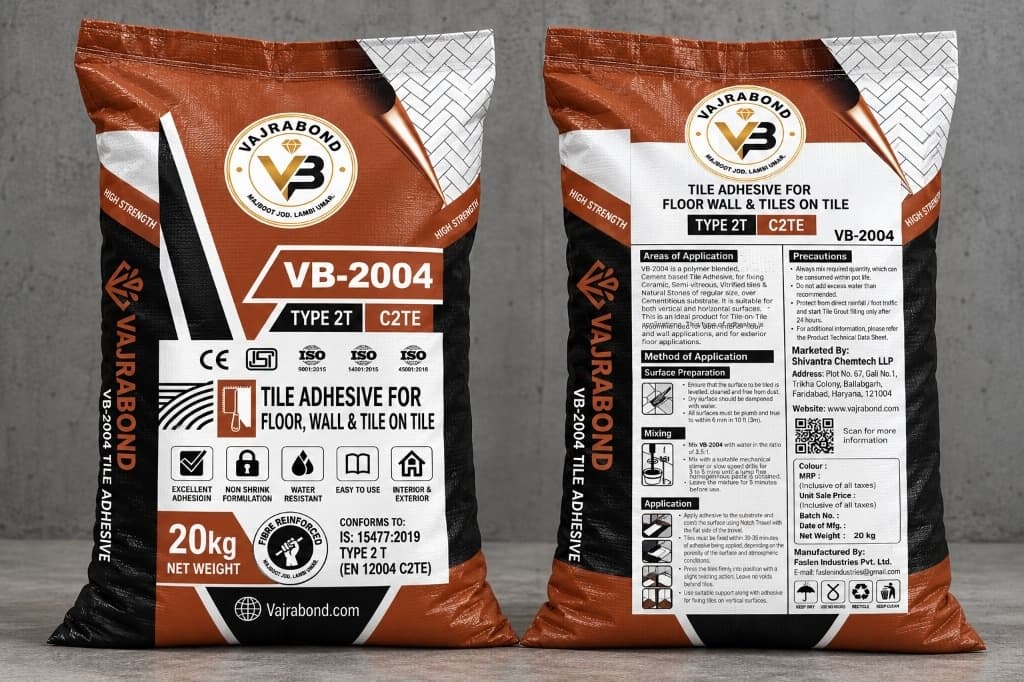
Use Vajra Bond VB-2004 formulated specifically with elastic polymers for tile-on-tile applications. Spread adhesive with the flat edge of a trowel to key into the substrate, then comb with a 6mm to 8mm square-notched trowel in straight parallel ridges.