Zero-Failure Guide: Kota Stone & Slate on Gypsum Plasterboards across Bathrooms & Showers
Technical installation specifications, substrate preparation for Drywall & Gypsum Boards, and void-free bonding protocols.


1. Engineering Context & Project Scope
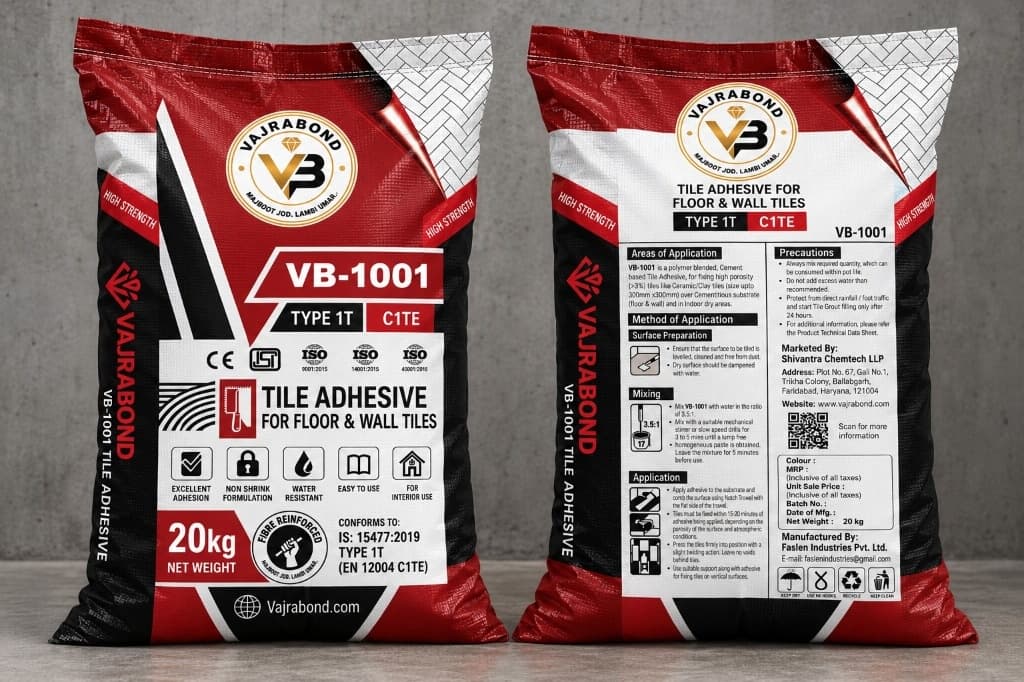
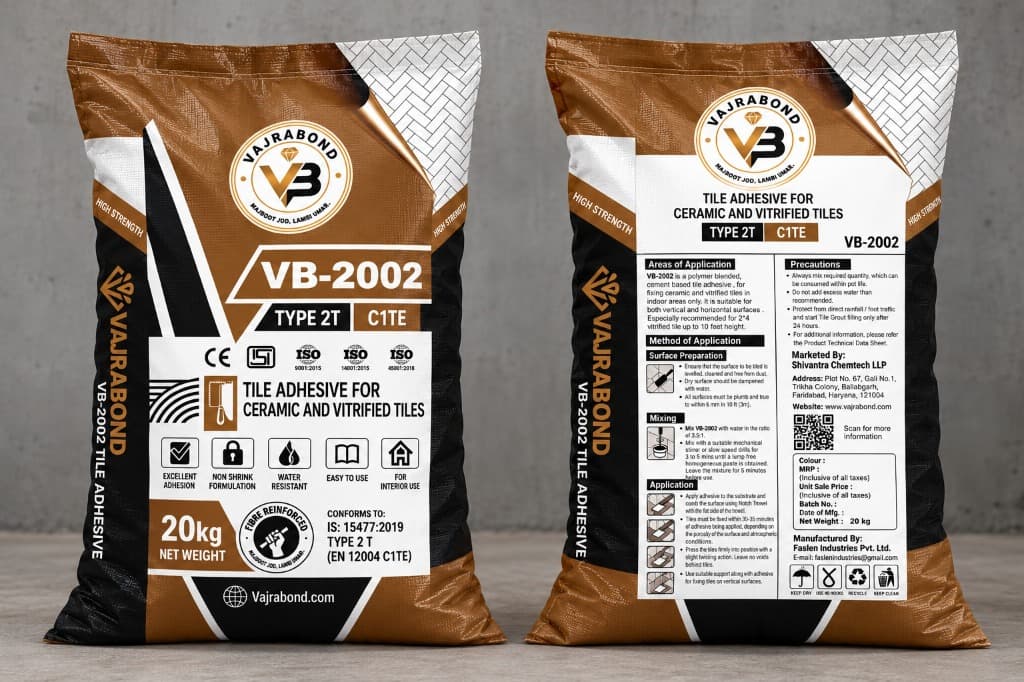
Installing Natural Kota Stone & Slate in Bathroom Showers & Wet Walls environments represents one of the most demanding tasks in modern tile contracting. Traditional cement-sand mortar fails catastrophically under these circumstances because Natural Kota Stone & Slate exhibits an exceptionally low water absorption rate (0.8 - 2.0%), preventing classical hydraulic mechanical interlock. Furthermore, Bathroom Showers & Wet Walls is subject to continuous water immersion and steam vapor transmission. When applying these tiles over Drywall & Gypsum Boards, structural designers, project managers, and specifiers must account for differential elastic moduli, chemical compatibility, and thermal transmission coefficients. Utilizing an engineered polymer-modified tile adhesive conforming to Type 2T C2TE (such as Vajra Bond VB-2002) ensures an elastic, durable bond that withstands both static loads and dynamic cyclic movements.
2. Critical Substrate Assessment: Preparing Drywall & Gypsum Boards
Over 85% of premature tile debonding and cracking originates not from defective tiles or flawed adhesive, but from deficient substrate preparation. When working over Drywall & Gypsum Boards, strict site protocols must be adhered to before applying any mortar: Verify structural framing rigidity at 400mm centers and prime the surface. In addition to baseline cleanliness, the substrate must satisfy stringent flatness tolerances. For Natural Kota Stone & Slate, maximum permissible deviation across any 2-meter straightedge is 2mm. Where high spots exist, diamond cup grinding is required; low depressions must be leveled using polymer-modified fairing mortars at least 24 hours prior to tile fixing. Test for moisture content using an electronic impedance meter or calcium chloride dome test; relative humidity within the substrate must register below 75% to prevent osmotic moisture entrapment. Any active structural cracks in Drywall & Gypsum Boards must be bridge-reinforced with alkali-resistant glass fiber mesh and polyurethane elastomeric joint sealants.
3. Adhesive Selection & Mechanical Standards Compliance
For Natural Kota Stone & Slate placed within Bathroom Showers & Wet Walls, selecting an adhesive meeting IS 15477:2019 and EN 12004 standards is mandatory. The adhesive bed must deliver high early tensile adhesion (>1.0 N/mm² under standard laboratory conditions) and sustain minimum 1.0 N/mm² after heat aging, water immersion, and freeze-thaw thermal cycling. Vajra Bond VB-2002 has been specifically formulated for this rigorous service class. It incorporates high-grade redispersible ethylene-vinyl-acetate (EVA) copolymers, graded silica quartz aggregates (0.1mm - 0.4mm), and cellulosics that preserve water retention even when ambient temperatures exceed 40°C. This prevents premature water loss to Drywall & Gypsum Boards, guaranteeing complete hydration of hydraulic binders and maximum chemical cross-linking against vitreous back surfaces.
4. Trowel Selection, Mortar Bed Combing & Back-Buttering Protocol
To definitively eliminate mitigating thermal shock & tile buckling, the application technique must guarantee at least 95% continuous bed coverage without air voids: 1. Trowel Geometry: Use a 10mm x 10mm square-notched stainless steel trowel for floors, or an 8mm x 8mm trowel for vertical surfaces. 2. Wetting the Substrate (Keying Coat): Apply a thin, tight skim coat using the flat side of the trowel firmly into Drywall & Gypsum Boards. This mechanically keys polymers into microscopic surface pores. 3. Directional Combing: Comb the mortar bed in straight, parallel ridges. NEVER use circular, swirling, or fan strokes. Straight ridges allow trapped air to evacuate cleanly when the tile is pressed down. 4. Back-Buttering (Butter-Floating): For all installations of Natural Kota Stone & Slate, spread a flat 1mm skim coat of adhesive directly onto the back face of every single tile before setting. This eliminates dead air pockets behind ribs and guarantees 100% monolithic adhesive transfer.
5. Mitigating Mitigating Thermal Shock & Tile Buckling & Movement Joints
The primary failure mechanism in this configuration involves differential thermal expansion coefficients between tile body and substrate without perimeter expansion joints. To permanently overcome this risk, execution must combine highly deformable S1/S2 classification polymer adhesive combined with 6mm perimeter movement joints. Equally crucial is the integration of movement and expansion joints. In Bathroom Showers & Wet Walls, tiles expand during thermal peaks and contract during cold cycles. Perimeter joints of 6mm minimum width must be preserved along all floor-to-wall junctions, columns, and curbs. These perimeter joints must remain completely free of rigid mortar and be sealed with permanently flexible neutral-cure silicone or polyurethane sealants. For large continuous floor plates, intermediate expansion joints must be installed every 4 meters x 4 meters outdoors, or every 6 meters x 6 meters indoors.
6. Step-by-Step Site Execution Checklist
Execute the following verified sequence to achieve guaranteed long-term bonding strength:
- Verify substrate sound: tap Drywall & Gypsum Boards to confirm zero hollow pockets or loose plaster areas.
- Clean the tile back face: wipe Natural Kota Stone & Slate with a damp sponge to remove manufacturing silica dust or wax coatings.
- Mix the mortar: mechanically blend Vajra Bond VB-2002 with 5.5 to 6.0 liters of clean potable water per 20kg sack using a paddle mixer at 400 RPM for 3-5 minutes.
- Allow slake time: let the wet mix stand undisturbed for 3-5 minutes to allow chemical additives to activate fully, then remix for 60 seconds without adding extra water.
- Check open time: never spread more adhesive than can be tiled within 20 minutes; test ridges with your fingertip regularly to confirm tackiness.
- Bed the tile: press Natural Kota Stone & Slate firmly into wet ridges and slide perpendicular to ridge direction by 5mm, then back into place to collapse all mortar ribs.
- Leveling clamps: apply reusable leveling clips along edges to prevent lippage while the adhesive cures.
- Grouting timeline: allow 24 hours of undisturbed curing before walking on tiles or applying polymer-modified tile grout.
7. Frequently Asked Questions (Technical Desk)
Q1: Can I soak Natural Kota Stone & Slate in water before laying with Vajra Bond adhesive? No! Modern polymer tile adhesives rely on controlled hydration. Soaking tiles saturates microscopic pores with free water, preventing polymer adhesion and causing mortar dilution. Q2: How soon can traffic be allowed on Natural Kota Stone & Slate in Bathroom Showers & Wet Walls? Light foot traffic is permitted after 24 hours at 25°C. Heavy furniture, commercial rolling traffic, or water filling must be deferred until full cure at 7 to 14 days. Q3: What happens if sand-cement mortar is used instead of polymer adhesive? Due to low porosity (0.8 - 2.0%), traditional mortar will fail to grip the tile. Within 6 to 18 months, thermal expansion or moisture variations will cause hollow sounds, grout cracking, and complete detachment from Drywall & Gypsum Boards.